📖 Installation Guide
TizonaHub can be installed on Windows and Linux systems.
Keep in mind that the device where you install it will act as a server, allowing you to access TizonaHub from any other device connected to the same network through a browser.
🪟Windows
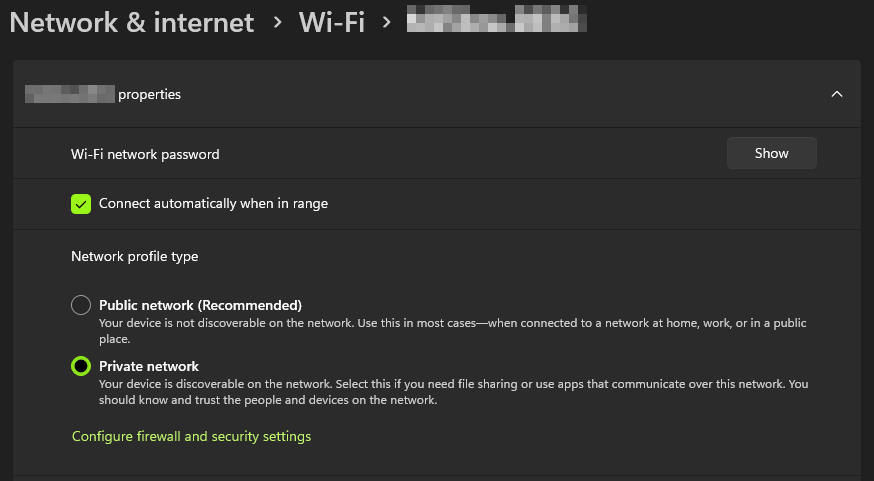
⚠️ It is important to set your network as Private so that other devices can identify the server. To do this, go to SETTINGS > Network & Internet > Wi-Fi > Your network and set it as private:
- Download and run TizonaHubInstaller.
- You may need to change some settings in your database. View.
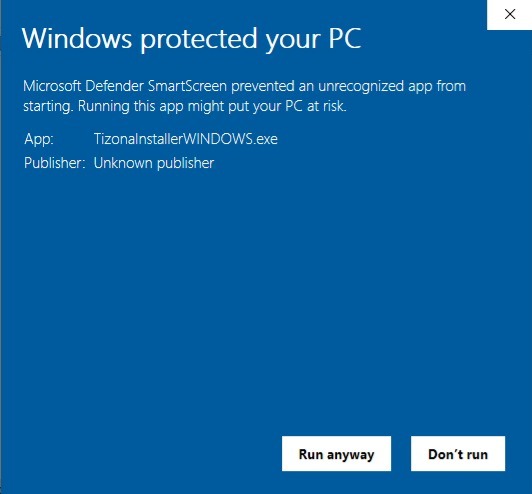
⚠️ Note: When running this installer on Windows, you may see a SmartScreen security warning. This happens because the file is not digitally signed. You can continue by clicking “More info” > “Run anyway”. Click here for more information.
🐧 Linux (Ubuntu-based distributions)
TizonaHub installer is designed to work only on Ubuntu-based distributions, including Ubuntu, Ubuntu server and Linux Mint. If you're using a different Linux distribution, you may need to perform a manual installation tailored to your environment.
- Download the installation script. Python must be installed. Click here to download.
- Unzip the download, open a terminal and run the installer with Python (python3 script.py).
- Run the installer. You will most likely need to run the following command:
ALTER USER 'dbUser'@'localhost' IDENTIFIED WITH mysql_native_password BY 'your_password';
FLUSH PRIVILEGES;
This allows the server to use the database user you specified during installation. Replace dbUser with your username and your_password with your password.
🗒️Environment Variables
You can modify these variables in the .env file inside the TizonaServer directory.
🔐 MySQL Compatibility and Authentication Method
TizonaHub uses widely supported connectors such as pymysql in Python and mysql2 in Node.js. For compatibility reasons, these connectors require the database user to use the classic MySQL authentication method known as mysql_native_password.
🤔 Why is this necessary?
Since MySQL 8, the official MySQL installer creates the root user using a more modern method called caching_sha2_password .
This new plugin offers greater security, but
is not compatible
with several common connectors, which prevents establishing a proper connection, even if the password is correct. You’ll likely need to configure some settings, whether you're following the installer’s guide or already have a database set up.
✅ How to avoid this issue?
During MySQL installation:
When asked to set the password for the root user, make sure to check the option: "Use Legacy
Authentication Method".
After installation:
If you’ve already set up your user with the modern method, open a MySQL terminal using mysql -u root -p . Once inside, run the following queries:
CREATE USER 'your_user'@'localhost' IDENTIFIED WITH mysql_native_password BY 'your_password';
GRANT ALL PRIVILEGES ON *.* TO 'your_user'@'localhost';
FLUSH PRIVILEGES;
This ensures full compatibility with TizonaHub.
🔒 Is this insecure?
No. This method is perfectly safe for private environments or local networks, which is the context TizonaHub is designed for. It is not recommended for servers publicly exposed to the internet, but poses no risk when used within a corporate or home network following good security practices (strong password, protected ports, etc.).